Have you ever wondered why the file size of one of your map is so large? Then it’s probably time to clean up your map.
Here are some suggestions how you can reduce the file size:
#01: Optimize/Repair
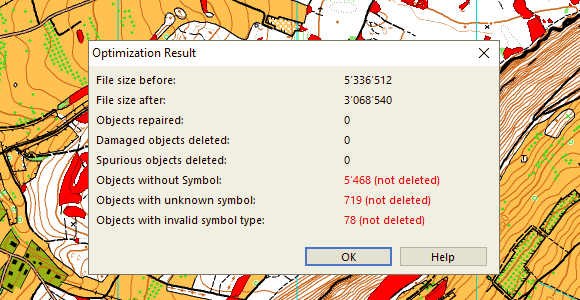
Choose the Optimize/Repair command in the Map menu to optimize (reduce) the size of the map file and repair damaged objects. With edit operations such as deleting objects, empty space is created in the map file. This function removes this empty space and therefore reduces the size of the map file. It’s therefore highly recommended to run the Optimize/Repair from time to time.
#02: Select and delete unnecessary objects
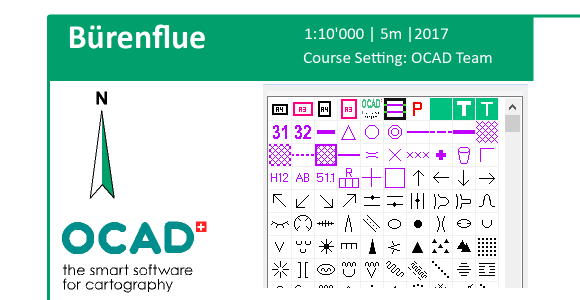
In the picture example above, you can see that there are many objects without symbols, unknown symbol or invalid symbol type.
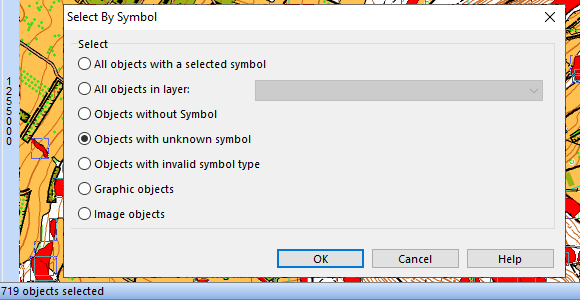
Choose Select Objects by Symbol in the Select menu to select all objects with certain symbols or in a certain layer.
You can now assign the selected objects to new symbols or (what is probably more often the case) delete the objects.
#03: Smooth not smoothed contours
When creating contours with the DEM Import Wizard, you can choose to create not smoothed contours. These contours consists of many vertices and let your file size increase.
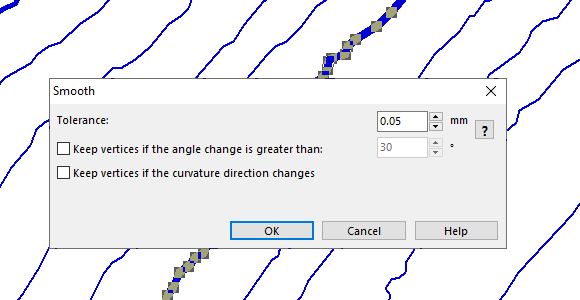
Select the contours and run the Smooth command in the Topology menu to reduce the amount of vertices. Make sure to choose the tolerance so that no information is lost. Run the Optimize / Repair command afterwards.
PS: To select all contours at once, either right-click on the contour symbol in the symbol box and choose Select Objects by Symbol or use the Select Objects by Symbol function.
#04: Remove unnecessary areas
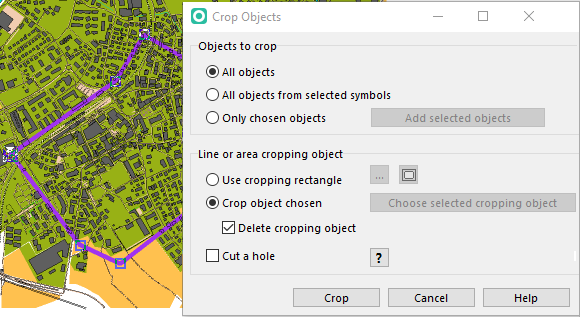
If you import existing geodata, e.g. by using the New Map Wizard, you probably import an area too large. You can Crop the map to the size of your actual project scope and remove unnecessary areas. Run the Optimize / Repair command afterwards.