Monthly Archives: May 2023

6 Tips to Edit Vertices

Vertices are used to define the position of points, lines and areas. In this blog post we will show you how to edit vertices in the most efficient way.

#01: Set mark size large enough

First, make sure that the size of the vertices is large enough. You can change the mark size and mark color in the Drawing and Editing section in the OCAD Preferences. In the same section, you can also scale the size of the mouse cursor.

#02: Move vertices

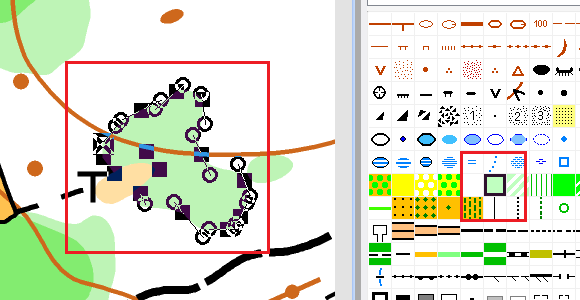
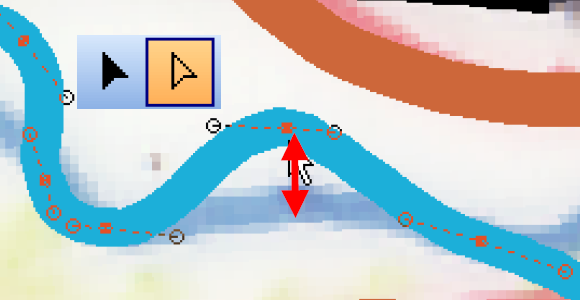
To move a vertex, select the Select Objects and Edit Vertex icon in the Edit and Drawing Toolbar and drag the vertex to the new position. Double click on a vertex and move it then with the arrow keys. Instead of moving a single vertex, you can also click on a segment (section between two vertices) and drag it.
#03: Add and remove vertices

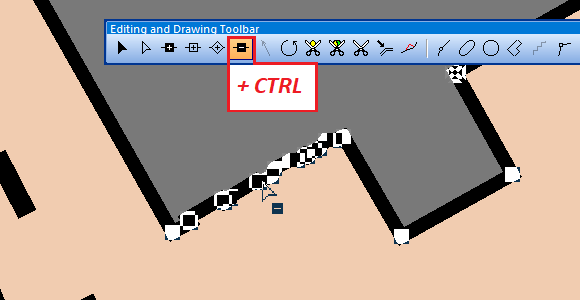
You can use the icons in the toolbar to add or remove vertices (see picture below).
However, you should definitely know these two shortcuts.

  • A Vertex can also be added, when you press the Shift and Ctrl key simultaneous while clicking on the object.
  • A Vertex can be removed, when you press the Ctrl key while clicking on an existing vertex.
  • Hold down the Ctrl key and the left mouse key while moving over the vertices to remove multiple vertices, e.g. to smooth buildings from imported cadastral data. The mouse movement works like an eraser for the vertices of the selected object.
#04 Toggle between vertices

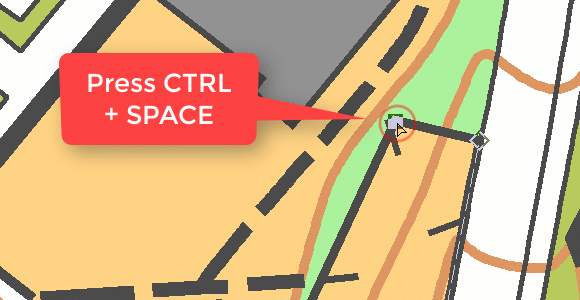
Toggle between the different vertex types (normal vertex – dash vertex – corner vertex) with pressed Ctrl+Space key and click on a vertex.
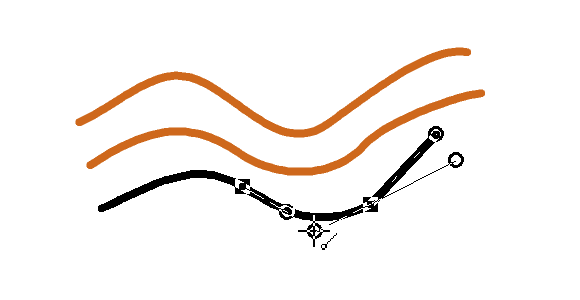
#05 Edit vertices and tangents of Bézier curves

If you draw a Bézier curve and are unhappy with the last vertex drawn, simply click the backspace key. The last tangent will be deleted and you can try again. You can delete as many tangents as you like up to the beginning of the line. The last two tangent end points can also be edited while drawing.
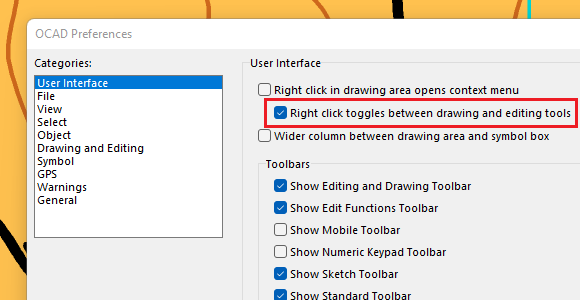
#06: Get faster into the edit mode

Select the following settings as shown below in the OCAD Preferences. When you draw an object, right-click to close it and get to edit mode. Another right-click switches back to drawing mode.
More OCAD Tips and Tricks

Visit the OCAD Wiki page Tips with Keyboard and Mouse to further optimize your drawing and editing skills in OCAD.

Object direction

For some line and point symbols, object orientation matters. Here comes a small instruction, how the object direction can be edited.

  • Line Symbols
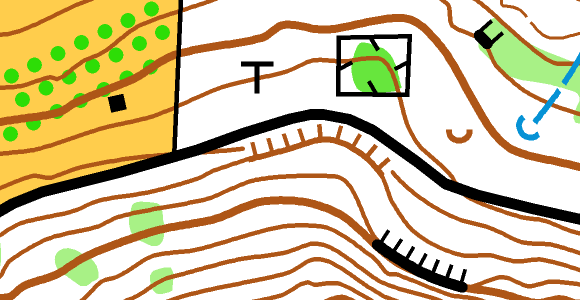
    Most line symbols consist of only one line without additional tags (e.g. contour line or path). Other line symbols such as fences, cliffs, earth banks also have tags within the symbol definition and therefore it is important where the start and end points of these symbols are located.

In the OCAD symbol sets, the tags of the symbols always point to the right when drawing an object.

If the tags point to the wrong direction, you must reverse the object direction (Menu Object > Reverse Object Direction or create a Shortcut), so that the first vertex becomes the last one and vice versa.

  • Point Symbols
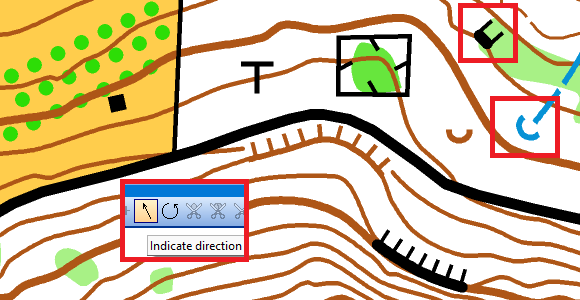
    Most point symbols are oriented to North (e.g. tower, small depression). For others, such as wells, springs or small cliffs, you can specify a particular direction for the object. Click and drag in the direction you want the point object to face. The drawn point object can also be adjusted afterwards using the Indicate direction of area pattern, point or text object function.
  • Area Symbols
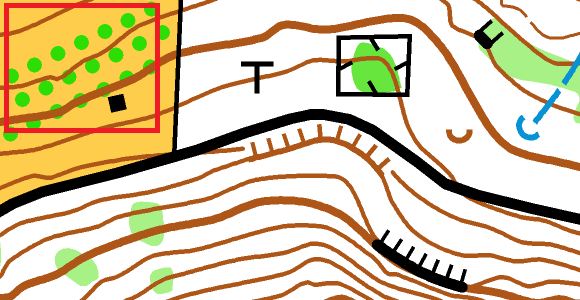
    As with point symbols, the object direction does not matter for most area symbols. Area symbols such as vegetation one direction, orchard, or vineyard can also be aligned using the Indicate direction of area pattern, point or text object function. Click once into the drawing area and the selected object will be oriented to North again.

6 Tips to Minimize Mouse Movements

Your mouse pointer covers considerable distances while drawing. This is because you have to constantly switch between symbols, drawing and editing modes, and functions.

Use the following tricks to give your mouse cursor a breather.

#01: Toggle between drawing and editing tools

Select the following settings as shown below in the OCAD Preferences. When you draw an object, right-click to close it and get to edit mode. Another right-click switches back to drawing mode.

#02: Select symbol in drawing area

When you select an object in the drawing area, the corresponding symbol is auto-selected by default. This can be faster than selecting the symbol in the symbol box.

#03: Set preferred drawing tool

Edit a symbol to choose a preferred drawing tool. When you click on a symbol in the symbol box, the preferred drawing tool of this symbol will now be selected.
The symbols of the supplied OCAD symbol sets have a preferred drawing tool assigned to each of them.

#04 Work with shortcuts

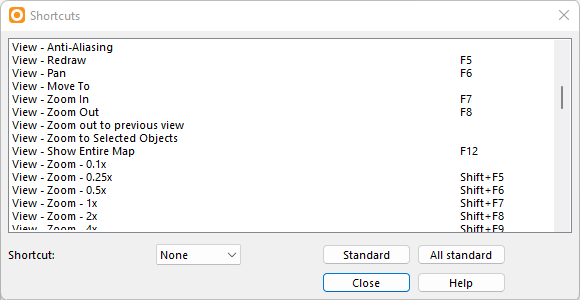
Shortcuts help you to execute functions via key combinations, e.g. fill an object, reverse its direction or change its symbol.

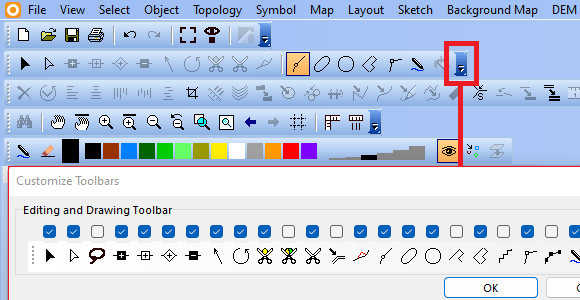
#05 Customize toolbar

The toolbar contains many functions by default. Do you need all of them?
You can also dock the toolbars to the sides or move them to the drawing area.

#06 OCAD Tips and Tricks

Last but not least, if you master the OCAD tips and tricks, you will automatically minimize mouse movements and save a lot of time.