Upload to Livelox: Difference between revisions
No edit summary |
|||
| Line 54: | Line 54: | ||
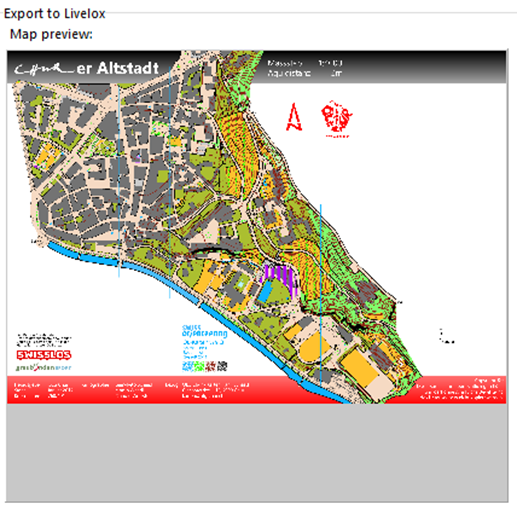
In the dialog appears a preview of the png map. Click on the image to open the png in an external application to see the quality of the created map file.<br> | In the dialog appears a preview of the png map. Click on the image to open the png in an external application to see the quality of the created map file.<br> | ||
If the extent of the map is wrong, close this dialog and set the export extent in the [[Export_Files#Setup_Part_of_Map|export dialog]]. | If the extent of the map is wrong, close this dialog and set the export extent in the [[Export_Files#Setup_Part_of_Map|export dialog]]. | ||
The map extent is the current print extent. You also have the possibility to choose another extent specified and saved before under '''[[Printing_Maps#Setup_Part_of_Map|Setup_Part_of_Map]]'''. | |||
*'''Status''': | *'''Status''': | ||
Revision as of 09:41, 13 July 2022
Livelox is a web-based application for analysis of routes from orienteering races. Participants record their routes in real time using a mobile app, or upload them from their GPS watches afterwards. As an organizer of orienteering trainings or competitions, you can publish maps and courses to Livelox to let spectators follow the competitors in real time, and to let participants analyze their route choices post-race.
The OCAD function Upload to Livelox can be found in the Course Setting menu of the OCAD programm. It will upload maps, courses and course data directly to Livelox.
Account
You need a Livelox account to upload the data. If you have an Eventor account (e.g. you are member of a Swedish, Norwegian or Australian orienteering club), please log in with your Eventor account rather than creating a new user account.
You can create your Livelox user account here: https://www.livelox.com/Account/Users/Create
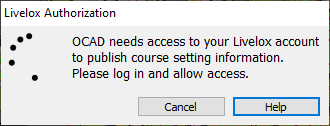
Livelox Authorization
OCAD uses the OAuth2 protocol for the authorization. The first time you upload data to Livelox you have to allow OCAD access to your Livelox account.
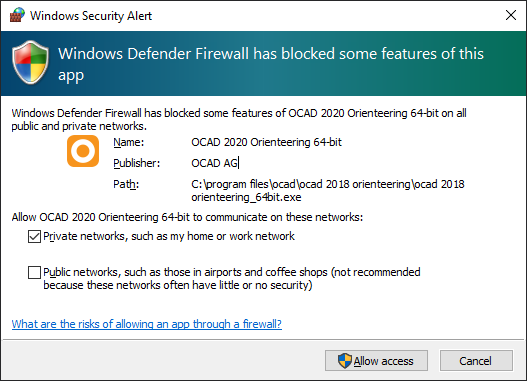
First you have to allow OCAD access to start a webserver for the OAuth2 authorization.
Click Allow access.
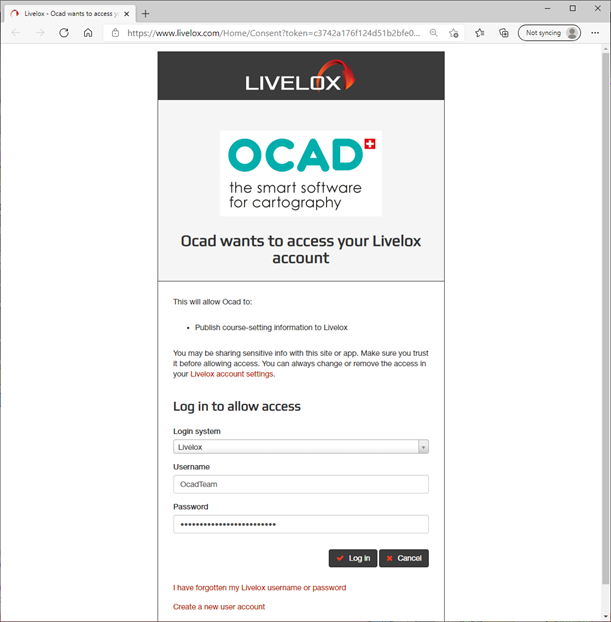
The web browser opens and you have to login to Livelox.
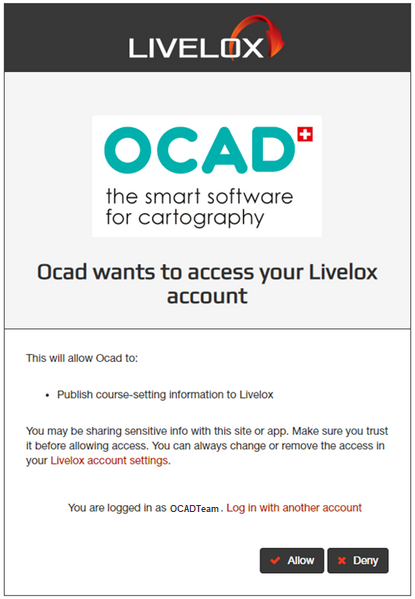
Click the Allow button to allow OCAD publish course-setting information to Livelox.
After the successful authorization the web browser loads this Livelox Authorization webpage which you can close.
Upload dialog
After the successful authorization OCAD opens the Upload dialog.
Event Information
- ID: The ID is empty for a new project. If you have already uploaded data the id already exists. In this case you can directly update the existing event in Livelox.
- Name: Enter here the event name. OCAD uses the event name from the course setting options as default name.
- Map name: Enter here the map name. OCAD uses the ocd file name from the background map as default name.
- Scale: The scale is defined in the course setting project.
Settings
- Resolution: Set here the resolution for the png map. For sprint maps 254dpi for a good quality is recommended, 286 dpi for the others maps.
- Remember me: When this option is checked, then OCAD saves the Livelox authorization token encrypted in the Windows Registry. In this case you don’t have to do the authorization again when opening this dialog next time.
Export to Livelox
Click the Check button to create and verify the upload data.
- Map Preview:
In the dialog appears a preview of the png map. Click on the image to open the png in an external application to see the quality of the created map file.
If the extent of the map is wrong, close this dialog and set the export extent in the export dialog.
The map extent is the current print extent. You also have the possibility to choose another extent specified and saved before under Setup_Part_of_Map.
- Status:
The following status exist:
- - Status not checked
- - Checking
- - Check failed
- - Check successfully
- - Livelox validation errors
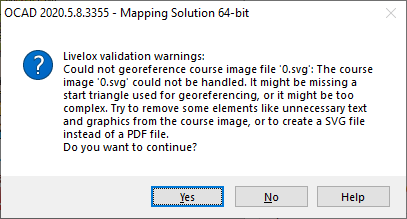
- - Livelox validation warnings
- - Upload successfully
- - Upload failed
- Upload
The Upload button is only enabled when the check was successfully. Click the Upload button to upload the data.
OCAD uploads the following data:
- - rasterized map as png with world file
- - courses as svg file
- - course setting data as IOF xml file
- - index file
- Error and Warnings
Livelox does also a check which can return errors and warnings.
The upload breaks when Livelox returns errors. You have to fix that error in the OCAD course setting project before publishing the data. When Livelox returns warnings it is possible to publish the data, but we recommend to fix these warnings in the OCAD course setting project first.
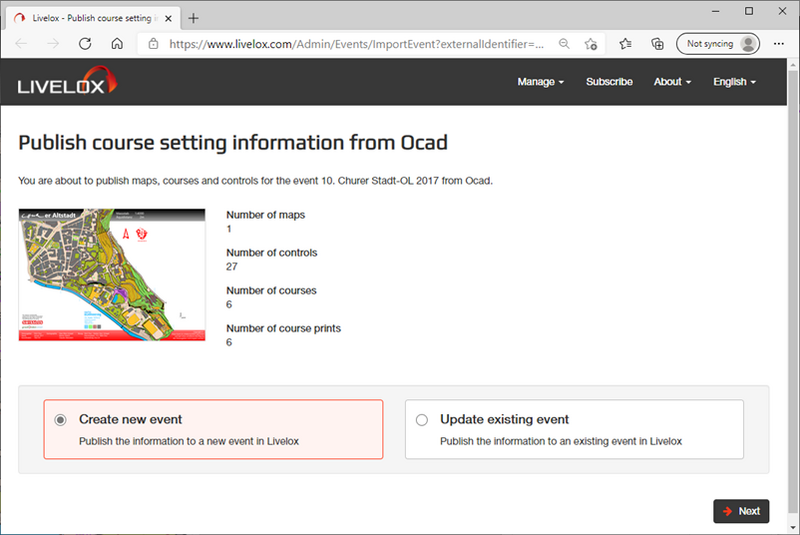
If the upload was successfully OCAD opens the web browser and redirect to Livelox where you can create the event.
Once you have created the event, the option Update existing event is available.
If changes are made to the courses later on, use the option Update existing event to upload data.
In this case OCAD publish the changes without redirecting the user to Livelox.
