Auto Control Description
(This function is only available in course setting projects!)
Automatic Control Description is a tool to support course setters with a semi-automatic identification of the control feature. The course setting project and the map need to have the same scale and the same offset.
Activate the Auto Control Description
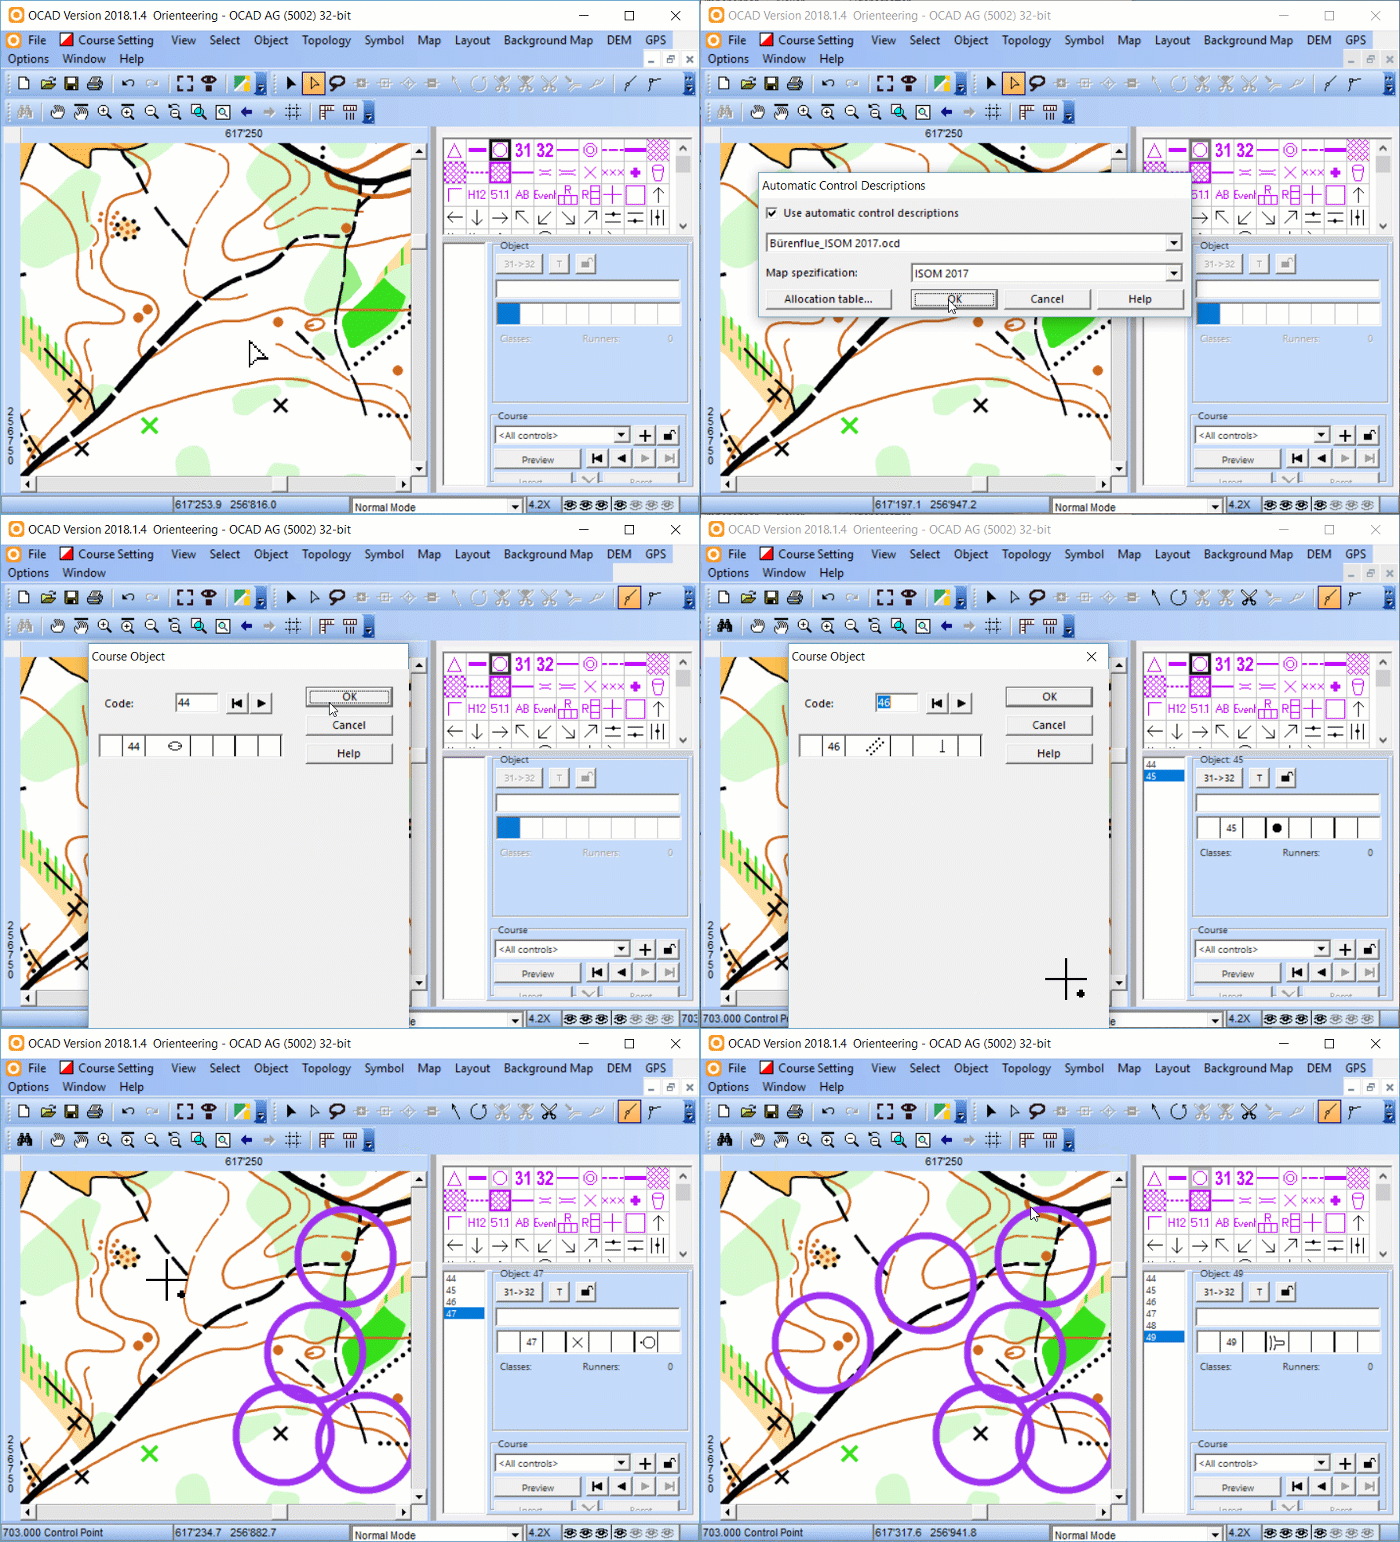
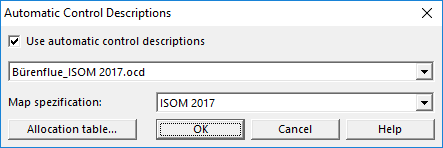
- Choose the Automatic Control Descriptions command in the Course Setting menu. The Automatic Control Descriptions dialog box is displayed.
- Activate the Use automatic control descriptions option.
- An .ocd or .eocd-Background Map must be chosen. The Automatic Control Descriptions tool does not work with raster background maps.
Allocation Table
Click the Allocation Table button in the Automatic Control Descriptions dialog to display the allocation table. In the allocation table the relationship between the map symbols and the control description symbols are defined. The allocation table must be adapted if the background map was not drawn with an actual ISOM compatible symbol set.
The allocation table contains nine columns:
- Map Symbol: The symbol numbers of the map symbols are listed here.
- Control Description, Symbol 1-6: This column contains the numbers of the symbols of the currently opened course setting file which match to the map symbols. You can allocate up to six different symbols. When you set a control later you can switch between these symbols using the Tab key. If you do not want to allocate a symbol number for a column, enter 0.000.
- Mouse Event, Drag Direction: This column defines the symbol which is used for the location of the control flag when you drag the mouse pointer in a direction after placing a control. The allowed inputs for this column are:
None Side Edge Part CornerInside CornerOutside Tip End PartUpperLower Top Beneath Foot Footside Between
- The corresponding symbol is taken when you drag the mouse pointer in the direction which the control flag stands (Location of the Control Flag part in the IOF Symbol Control Description).
- Mouse Event, Click: This column defines the symbol which is used for the location of the control flag when you place the control by a simple click. The allowed inputs for this column are:
None Beneath Between Top Foot
- The corresponding symbol is taken when you place a control by a simple click (Location of the Control Flag part in the IOF Symbol Control Description).
Course Setting with Auto Control Description
- Activate the Auto Control Description.
- Place a control on the map.
- The Course Object Dialog Box appears with an additional part for the IOF Symbol Control Description.
- If the control was placed by clicking exactly on an OCAD object, OCAD will identify the control feature and add the corresponding symbol to the control description. If more than one symbol is defined for this feature in the allocation table you can switch between them by pressing the Tab key.
- If the control is placed exactly on an OCAD object by pressing the left mouse button and dragging in a defined direction, OCAD will identify the control feature and additionally recognize the location of the control in relation to the feature.
If the object is a contour line OCAD, sets a hill in the control description by default. But there is a way to bring OCAD to add the hill, depression, re-entrant or spur symbol directly to the control description: When placing a control at one of these features drag the mouse in one of the four main directions:
- Up = hill
- Down = depression
- Left = re-entrant
- Right = spur
Use Auto Control Description for Text Control Description
Choose the Edit Text Control Description command in the Course Setting menu to transfer the Automatic Generated Control Description into text.
Back to the Course Setting for Orienteering page.


